3 WAYS TO CONNECT A LAPTOP TO A MONITOR
- Connect the Laptop to the Monitor
- How to Connect a Laptop to a Monitor, Simple
- How to Connect a Laptop to a Monitor of All Versions
Connect the Laptop to a Monitor
There are several steps you can use as a way to connect the laptop to the monitor, but you must pay attention to several things before connecting the laptop. Here are some recommended tips.
- Select the Laptop Video Output Option
There are several ways to connect laptop computers like Windows or Mac to an external monitor. Most modern laptops alias can determine the best connection method when it will be connected to the monitor, this process is related to the selection of the right cable.
- Windows
- HDMI, a pointy six-sided port can usually be found on most Windows laptops.
- DisplayPort, similar to HDMI but one end protrudes inward, while the other end forms a right angle.
- VGA or DVI, VGA ports have colors and holes while DVI is generally black with holes and slits on one side.
- Mac
- Thunderbolt 3 or also known as USB-C, an oval-shaped port that is next to a modern MacBook.
- HDMI, like Windows, is a six-sided port, but only on some MacBook models.
- Mini DisplayPort, the same shape as HDMI found in several MacBook laptops produced from 2008 to 2016.
- Select Insert Video Monitor
- Computer monitors in general only have one input or port available, while another case with a television that has several inputs. You can find several HDMI or DisplayPort ports located on the back of the monitor.
- If the monitor being used is an old model or output, this allows you to find the VGA or DVI port located on the back of the monitor. This is the most important component in how to connect a laptop to a monitor.
- Adjust the Computer Connection to the Monitor
- If the laptop and monitor have at least one of the same ports and most likely HDMI, you can use identical cables and connectors that can be used to connect the laptop to the monitor being used.
- Buy an Adapter Cable
- This needs to be done if the monitor requires a different type of connection from the laptop, you need an adapter cable to format the laptop connection to monitor connection. Here are some adapter cables that you can use in general.
- HDMI-to-DisplayPort
- DisplayPort (Mini DisplayPort) -to-HDMI
- Mini DisplayPort-to-DisplayPort
- USB-C-to-HDMI (DisplayPort)
- VGA-to-HDMI
- DVI-to-HDMI
- Connect Monitor to Resources
- The next step is to connect the monitor to a power source, for example on a wall outlet, then press the power button.
- Connect the Laptop to the Monitor
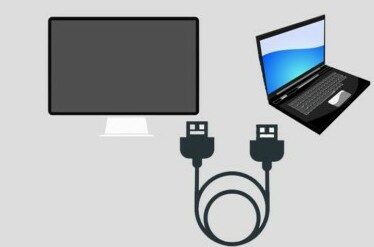
- Connect one end of the cable to the laptop and connect the other end of the cable to the monitor, if you need to buy an adapter you also need to connect the adapter power cable to the power source used or a power source.
- Wait until the laptop screen appears on the monitor
How to Connect a Laptop to a Monitor, Simple
Modern laptops provide at least one port that can be used to connect the laptop to a monitor, whether using VGA, DVI, or DisplayPort. However, please note that some PCs or laptops also require adapters.
- You must ensure that you have a data cable between the monitor and the PC or laptop, such as a VGA connector for the computer monitor and a VG port on the laptop.
- If it is connected, it will automatically switch to the new external screen.
- You will be asked to press one or more buttons to switch to an external screen.
- For example, by pressing the Fn and F7 buttons, at the same time you will switch between a laptop and an external screen.
- Usually, you will find key combinations that resemble the screen on a laptop keyboard.
- If the laptop is not equipped with the FN or F1-F12 key, you can read the manual.
How to Connect a Laptop to a Monitor of All Versions
There is also a way to connect a laptop to a monitor for all types of laptops, either MacBook or Windows, the method is also easy to do and does not require much time. Here are some steps that you must take.
- When set up on the right side of the laptop, you only need to make a few adjustments.
- In terms of default, extensions will go left.
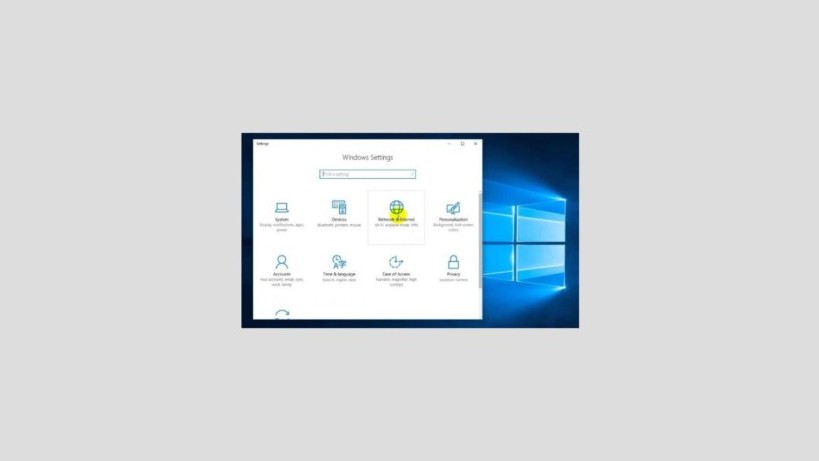
- Next enter the windows, Display Settings, or Adjust Screen Resolution.
- Drag on the monitor icon that leads to the right side of your monitor laptop.
- The existence will be on the right side not on the left anymore.
- Click Apply to save the settings.
When the connectivity process is clearly visible, Windows 7 users can do this in seconds. Then for adjustments will only be used when needed, you need to know the dual setup that will be used and for what settings are needed.