Your laptop’s wifi can’t connect to the internet network? Once you have read this article, you will know how to handle laptop wifi that cannot connect.
There are several ways that we will review to fix your laptop’s wifi so that you can connect back to the internet, following his review.
5 TIPS TO OVERCOME WIFI LAPTOP CANNOT CONNECT
- Settings in the Control Panel
- Check Laptop Internet Networks
- How to Overcome Wifi Laptop Cannot Connect Because of Limited Access
- There is an Unidentified Wifi Description
- Using How to Reinstall Drivers
Settings in the Control Panel
Before starting how to deal with laptop wifi can not connect, first check the notification area network/wifi icons in the bottom corner of your desktop display. If there is a yellow triangle symbol with an exclamation point, then do the following steps.
- Click start, enter the control panel,
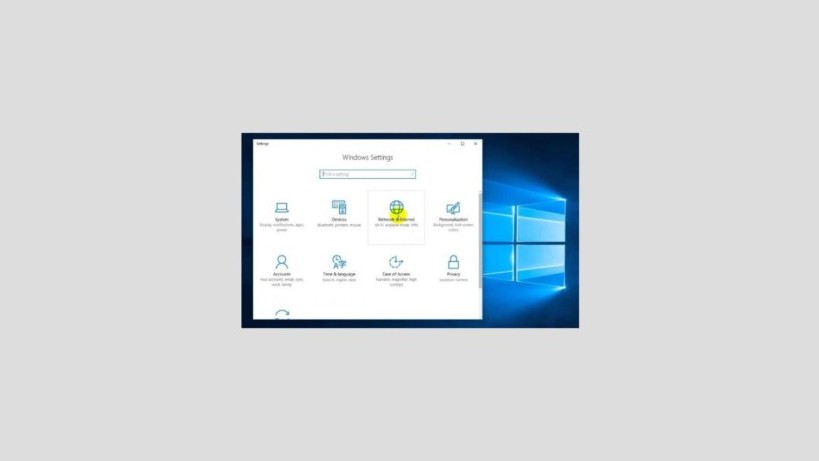
- Select Network and Internet, enter the Network and Sharing Center.
- Select Change Adapter Settings.
- Right-click on Wireless Connection, then select Properties.
- You will be faced with a window containing internet protocol version 4.
- Double click on the link.
- If so, select Obtain an IP address automatically and Obtain DNS server address automatically.
- If already you just need to click again and select OK.
If your laptop still cannot connect to the internet, it could be because there are some problems with the network driver used. To analyze this, use the following steps to overcome them.
- Right-click My Computer or This PC (for Windows 8 version, click Manage).
- Then, click Device Manager.
- If you have click on Networks Adapter.
- If a yellow question mark appears, there really is a problem with the driver.
- It could be because it hasn’t been installed.
Check Laptop Internet Networks

If your laptop cannot connect to the internet one of the ways you can do is change the manual settings to become automatic (DHCP mod). How to deal with laptop wifi can not connect, you only need to follow the following steps.
- Click the Wifi icon in the lower right corner of your laptop’s Windows screen.
- Select Open Network and Sharing Center.
- Select Change adapter settings, this mode is in the upper left corner.
- Click on the WiFi adapter, then select properties.
- Double click on Internet Protocol version 4 (TCP / IPv4).
- Select Obtain an IP address automatically and Obtain DNS server address automatically.
- So that the WiFi adapter automatically searches for IP Address and DNS settings using DHCP.
- If you have clicked OK and closed.
- Experiment with accessing any site on your laptop browser.
It could also be because you chose the wrong wifi access point available, if this happens you apparently just try to connect to the access point that is actually used for network pointing with other access points.
How to Overcome Wifi Laptop Cannot Connect Because of Limited Access

There is a separate way if your laptop cannot be used to access the internet with limited access information. There are several factors that can cause this, but here are ways to overcome the problem.
- Click the start menu, enter the control panel.
- If the Control Panel window has appeared select Network and Internet.
- Enter the Network and Sharing Center.
- Then click Manage Wireless Networks.
- On the Manage Wireless Networks menu, you will see several cached data from wifi that have been used before.
- Select one cache click remove.
- Do it until all the wifi cache has been removed.
There is an Unidentified Wifi Description

A laptop in this condition indicates that it cannot accept the IP address and DNS server of the wifi hotspot you are currently using. This makes the laptop can not be used to access the local internet network, to overcome it as follows.
- Click the wifi icon in the lower right corner of the laptop.
- Click the name of the access point from the wifi that will be disconnected.
- Click Disconnect.
- If the wifi is no longer connected, click Connect on the access point.
- The method is the same when you want to connect to wifi as usual.
- If so, enter any site using your browser.
- If the destination page opens, the problem is resolved.
Using How to Reinstall Drivers

If some of the ways above still cannot solve the problem, your laptop cannot connect to the internet. How to deal with laptop wifi can not connect the following can be an alternative last choice, the following steps.
- Open the start menu, right-click on my computer.
- Select Manage.
- You will be faced with the system properties window, select Device Manager.
- In this menu, pay attention to the Network Adapters section, right-click on the wifi adapter.
- Choose to uninstall.
- You do not need to worry because when the system re-detects the system, the driver will automatically be installed again.
- Then right-click on the Device Manager window, select Scan for Hardware Changes.
- Wait for the re-detection process by the system.
- When finished close the Device Manager window.
- Then access any site for the browser to test it.
- Internet network settings found on the laptop may be wrong.
- If you have used the steps above, the laptop can certainly be used to access the internet normally and smoothly.
- However, if it still cannot be connected, it can analyze several causes that make laptops unable to connect to the internet.


